howard miller clock repair manual
Discover the art of restoring Howard Miller clocks with detailed manuals and guides‚ ensuring proper maintenance and longevity for these timeless timepieces.
1.1. Overview of Howard Miller Clocks
Howard Miller clocks are renowned for their exceptional craftsmanship and timeless designs. Offering a wide range of styles‚ from grandfather clocks to wall and mantel clocks‚ they cater to diverse tastes. Known for their precise engineering and high-quality materials‚ these clocks are celebrated for their reliability and aesthetic appeal. Many models feature intricate chime systems and advanced mechanisms‚ making them popular among collectors and enthusiasts. Their durability and classic designs ensure they remain cherished heirlooms for generations.
1.2. Importance of Proper Repair and Maintenance
Proper repair and maintenance are essential for preserving the functionality and beauty of Howard Miller clocks. Regular upkeep ensures smooth operation‚ prevents damage‚ and maintains accuracy. Neglecting maintenance can lead to mechanical failures‚ affecting both timekeeping and chime systems. Timely repairs also protect the clock’s value‚ making it a lasting family heirloom. By following manufacturer guidelines and using authentic parts‚ owners can ensure their clocks remain in optimal condition for years to come.
Understanding Howard Miller Clock Components
Exploring the intricate parts of Howard Miller clocks is vital for effective repair and maintenance. From movements to chimes‚ understanding each component ensures proper functionality and longevity.
2.1. Key Parts of a Howard Miller Clock
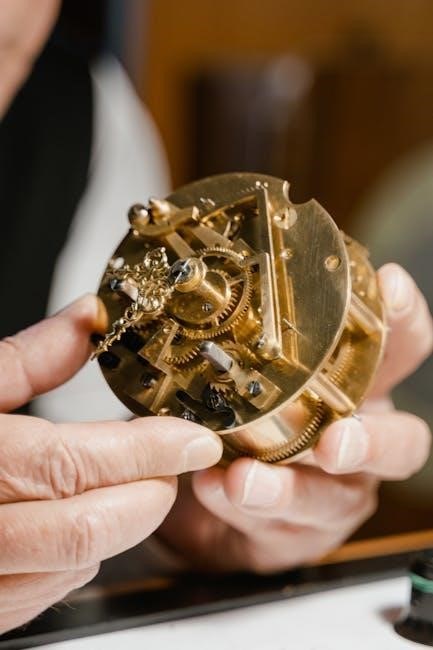
A Howard Miller clock comprises essential components‚ including the movement‚ chime system‚ pendulum‚ weights‚ and clock hands. The movement is the heart‚ driving timekeeping. Chimes enhance sound quality‚ while pendulums regulate mechanical models. Weights power mechanical clocks‚ and hands display time accurately. Understanding these parts is crucial for effective repair and maintenance‚ ensuring precise functionality and longevity of the clock.
2.2. Movement Types: Mechanical‚ Quartz‚ and Radio-Controlled
Howard Miller clocks feature three primary movement types: mechanical‚ quartz‚ and radio-controlled. Mechanical movements rely on weights or springs‚ offering traditional craftsmanship. Quartz movements use batteries for accuracy and low maintenance. Radio-controlled models sync with atomic signals for precision. Each type ensures reliable timekeeping‚ catering to different preferences and needs‚ whether for classic elegance or modern convenience‚ ensuring Howard Miller clocks remain precise and functional for years to come.
2.3. Chime Systems and Their Mechanisms
Howard Miller clocks are renowned for their melodious chime systems‚ which add charm and functionality. These systems typically involve a series of chime hammers striking metal rods to produce sound. The mechanisms are synchronized with the clock’s movement‚ ensuring precise timing for hourly chimes. Some models feature adjustable chime volume and selection‚ enhancing user experience. Proper maintenance and alignment of these components are crucial to preserve the clock’s acoustic appeal and overall performance over time‚ ensuring a harmonious blend of sound and timekeeping.
2.4. Pendulum and Weight Systems
The pendulum and weight systems in Howard Miller clocks are essential for maintaining precise timekeeping. The pendulum swings rhythmically‚ regulating the clock’s movement‚ while weights provide the power needed to operate. Proper alignment and balance of these components are crucial for accuracy. Handling these parts requires care‚ as misalignment can affect performance. Regular inspection and adjustment ensure smooth operation‚ preserving the clock’s aesthetic and functional integrity over time. Always remove weights and pendulums before moving the clock to prevent damage.
Tools and Materials Needed for Repair
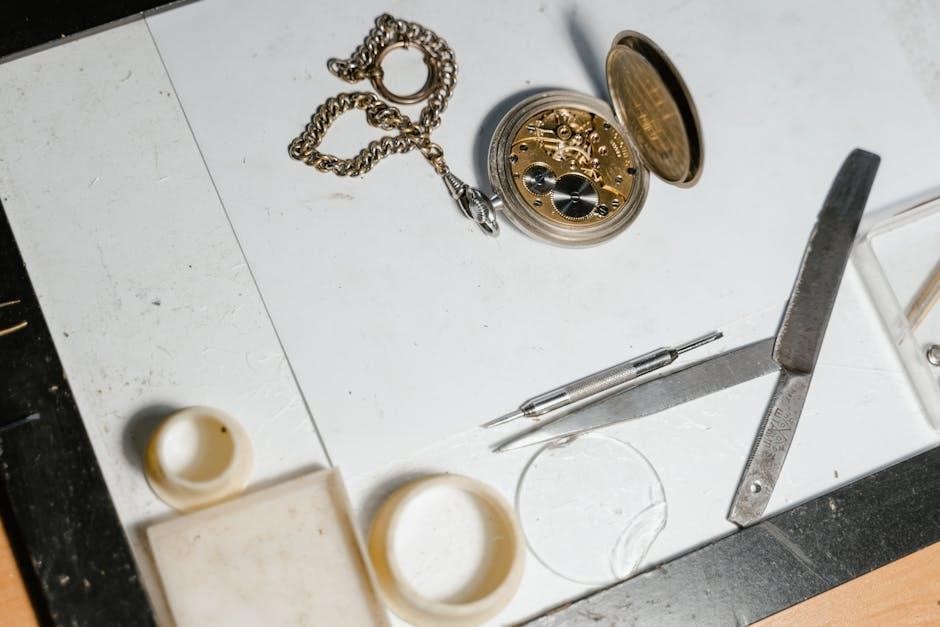
Essential tools include screwdrivers‚ pliers‚ and lubricants; Specialized items like movement holders and weight pulleys are crucial. Materials such as polishing cloths and oil ensure proper restoration and maintenance.
3.1. Basic Tools for Clock Repair
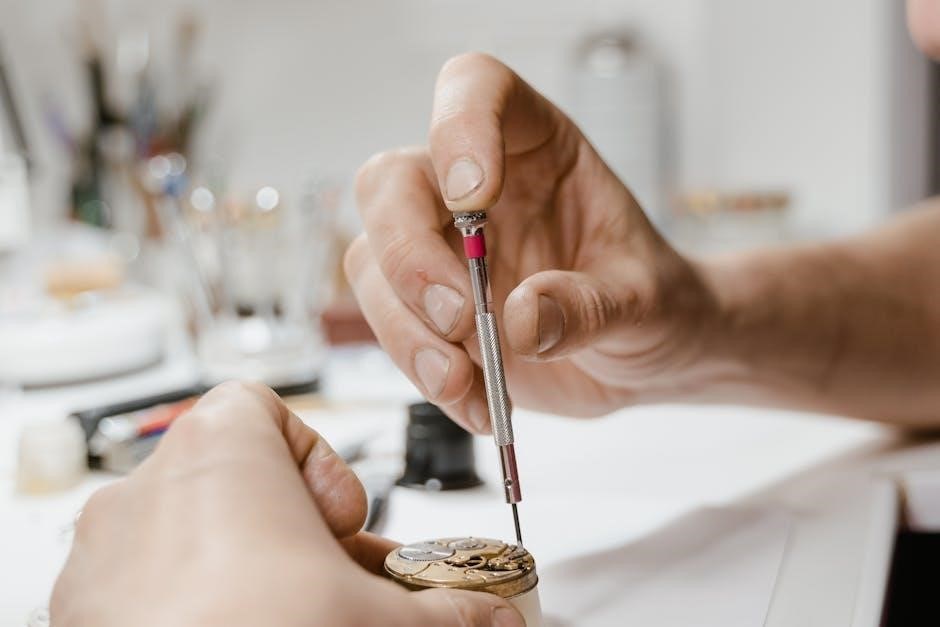
Essential tools for Howard Miller clock repair include flathead and Phillips screwdrivers‚ needle-nose pliers‚ and a soft-bristle brush. Tweezers and magnifying glasses aid in handling small parts. Lubricants like clock oil and silicone spray are crucial for maintaining movement. Cotton gloves prevent scratches and fingerprints. A sturdy workbench and proper lighting ensure visibility and precision. These tools are widely available in hardware stores or online‚ making them accessible for both professionals and DIY enthusiasts.
3.2. Specialized Tools for Howard Miller Clocks
Specialized tools for Howard Miller clocks include a movement holder for stabilizing the mechanism and a chime tuning tool for adjusting bell sounds. A pendulum remover facilitates easy removal without damage. Weight hooks assist in handling heavy components safely. A gear puller is essential for removing gears without stripping teeth. These tools‚ often found in professional clock repair kits‚ ensure precise adjustments and prevent damage to intricate parts‚ making them indispensable for enthusiasts and technicians alike.
3.3. Materials Required for Maintenance and Restoration
Essential materials for maintaining and restoring Howard Miller clocks include cotton gloves to prevent fingerprints‚ soft cloths for polishing‚ and plastic bags to store small parts. Silicone-based lubricants are recommended for moving components‚ while wood polish rejuvenates the cabinet finish. Clock oil is specifically designed for mechanical movements. Additionally‚ adhesive products like wax or epoxy may be needed for repairs. Always ensure materials are compatible with the clock’s finish and mechanisms to preserve its authenticity and functionality.

Safety Precautions and Best Practices
Always handle small clock parts with care to avoid loss or damage. Wear cotton gloves or use soft cloths to prevent fingerprints and scratches. Ensure the clock is stable to prevent tipping during repair or maintenance.
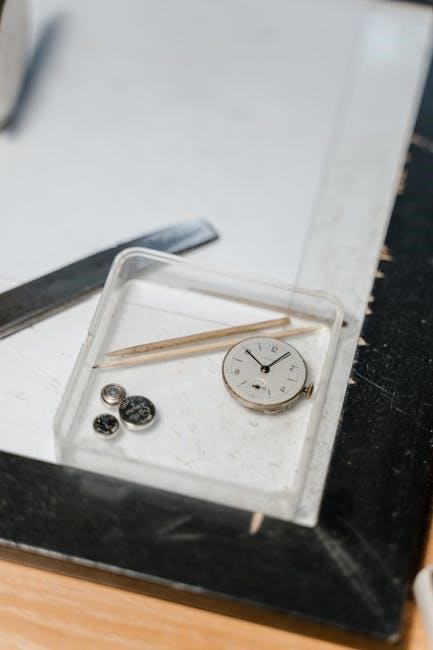
4.1. Handling Small Parts and Safety Measures
When handling small clock parts‚ ensure they are kept away from children to prevent accidental ingestion or loss. Always wear cotton gloves or use a soft cloth to avoid leaving fingerprints or scratches. Secure loose components like pendulums and weights before moving the clock. Keep plastic bags and tiny parts out of reach. Use a stable workspace to prevent tipping‚ and avoid touching sensitive mechanisms. Regularly clean tools and surfaces to maintain clarity and organization during repairs.
4.2. Preventing Damage to the Clock Movement
To prevent damage to the clock movement‚ avoid touching internal components with bare hands‚ as oils from skin can cause corrosion. Use cotton gloves or soft cloths when handling parts. Never force or bend delicate mechanisms‚ and avoid exposing the movement to moisture or extreme temperatures. Keep harsh chemicals and cleaning agents away‚ as they can harm finishes or degrade materials. Always secure the clock on a stable surface before accessing the movement to prevent accidental drops or shifts.
4.3. Proper Handling of Weights and Pendulums
Always handle weights and pendulums with care to prevent damage. Remove them before moving the clock to avoid internal stress. Use soft cloths or gloves to prevent scratches. Never force weights onto their hooks or adjust pendulums roughly. Store them separately in protective packaging during repairs. Ensure weights are properly seated and pendulums are securely attached before operation. Regular inspection ensures they function smoothly‚ maintaining accurate timekeeping and chime coordination in your Howard Miller clock.
Troubleshooting Common Issues
Identify and resolve common issues with your Howard Miller clock using detailed manuals and proper repair techniques. Ensure accurate timekeeping and smooth operation with careful troubleshooting.
5.1. Identifying Common Problems in Howard Miller Clocks
Common issues in Howard Miller clocks include inaccurate timekeeping‚ chime malfunctions‚ and pendulum or weight-related problems. Manuals often highlight these concerns‚ providing diagnostic steps; For instance‚ synchronization issues with radio-controlled models can arise‚ while mechanical clocks may face wear in their movement parts. Chimes may not sound correctly due to misaligned hammers or incorrect settings. Understanding these problems is key to effective troubleshooting and ensuring optimal performance.
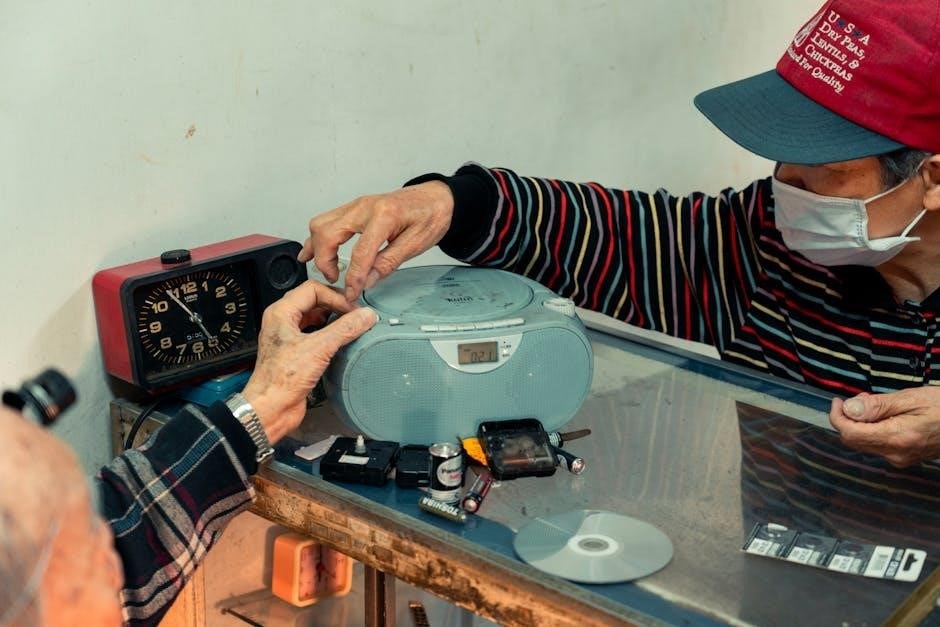
5.2. Time Accuracy and Synchronization Issues
Addressing time accuracy and synchronization issues in Howard Miller clocks involves checking the signal reception for radio-controlled models and ensuring proper time zone settings. Resetting the clock after a power outage or battery replacement can help regain synchronization. If problems persist‚ consulting the manual or contacting authorized service centers may be necessary to resolve mechanical or software-related issues effectively.
5.3. Chime Malfunctions and Adjustments
Chime malfunctions in Howard Miller clocks can stem from incorrect hammer alignment or misadjusted chime rods. Users should inspect the chime hammers to ensure they strike the rods properly. Adjustments may involve repositioning the hammers or rods to achieve clear tones. Referencing the manual for specific instructions is recommended. If issues persist‚ consulting an authorized service center or technician is advised to restore the chimes to their optimal performance and harmonious sound quality effectively.
5.4. Pendulum and Weight-Related Problems
Pendulum and weight issues often arise from dirt‚ misalignment‚ or improper installation. If the pendulum stops swinging‚ check for obstructions or uneven surfaces. Ensure weights are correctly hung and evenly spaced. Cleaning the movement and lubricating pivot points can resolve sticking parts. Always handle pendulums and weights with care‚ using cotton gloves to prevent oil residue. Refer to the manual for specific adjustment instructions‚ and consult a professional if persistent issues occur to maintain accurate timekeeping and mechanical integrity.
Step-by-Step Repair Guide
Follow a detailed‚ sequential approach to disassemble‚ clean‚ and repair your Howard Miller clock‚ ensuring proper lubrication and precise reassembly for optimal functionality and longevity.
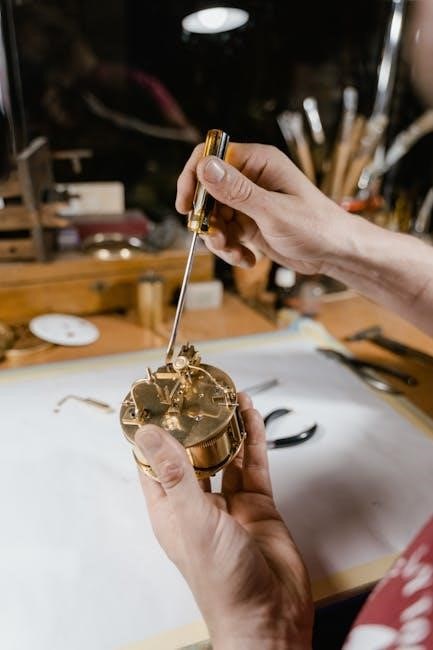
6.1. Disassembling the Clock for Repair
Start by referring to the official Howard Miller repair manual or guide for specific disassembly instructions. Remove the clock hands and dial to access the internal mechanism. Detach the movement from the cabinet by unscrewing the mounting brackets. Disconnect the chime hammers and wires carefully to avoid damage. Gently lift the movement out‚ taking note of all components. Store small parts securely to prevent loss. Wear cotton gloves to handle fragile elements and ensure all weights and pendulums are removed safely before proceeding.
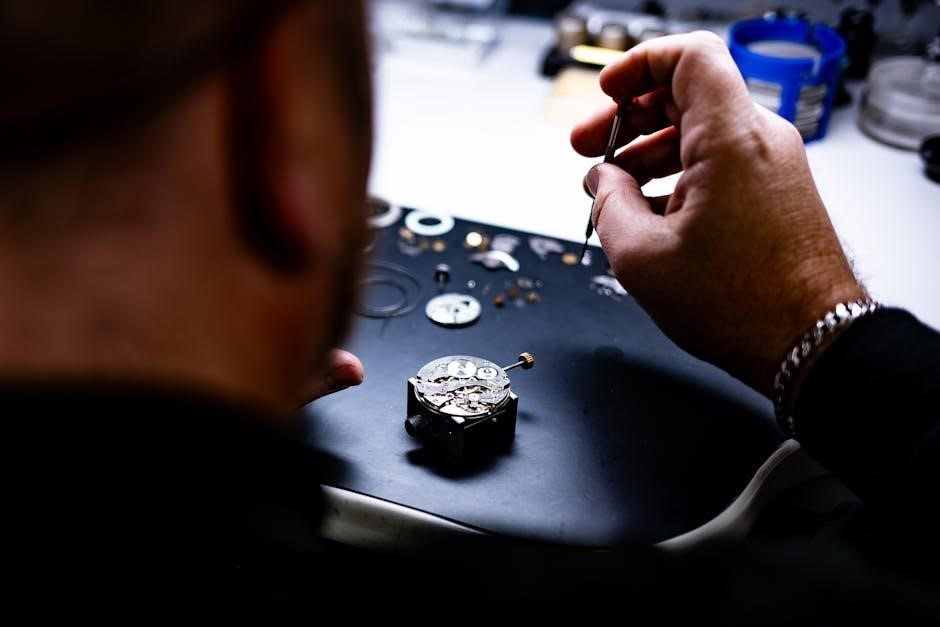
6.2. Cleaning and Lubricating the Movement
Carefully clean the movement using a soft brush or compressed air to remove dust. Lubricate with high-quality clock oil‚ applying small drops to gear pivots. Avoid over-lubrication to prevent attracting dust. Use the oil specified by Howard Miller for optimal performance. After lubricating‚ allow the clock to run briefly to ensure smooth operation. Work in a clean‚ dust-free environment and reassemble all parts accurately to maintain functionality and accuracy. Follow the manual’s instructions precisely for the best results.
6.3. Replacing or Repairing Damaged Parts
When replacing or repairing damaged parts‚ use authentic Howard Miller components to ensure compatibility and performance. Access the movement through the back panel‚ as detailed in the manual. Replace worn gears‚ bent hands‚ or broken springs with precision tools. Lubricate new parts lightly and align them carefully. Refer to the parts diagram for accuracy. Avoid using generic replacements‚ as they may not fit properly. Test the clock after repairs to ensure smooth operation and accurate timekeeping. Consult the manual for specific instructions on each part.
6.4. Reassembling the Clock
Reassemble the clock by reversing the disassembly process‚ ensuring all parts align correctly. Refer to the manual for guidance. Replace the movement‚ pendulum‚ and weights carefully. Reattach the hands and chime rods securely. Lubricate pivot points lightly if needed. Avoid over-tightening screws. Test the clock’s movement and chimes to ensure proper function. Use cotton gloves or a soft cloth to handle fragile components. Double-check all connections before final assembly to guarantee accurate timekeeping and smooth operation. Proper reassembly ensures longevity and optimal performance. Always follow the manufacturer’s instructions for best results.
6.5. Testing and Adjusting After Repair
After reassembling‚ test all functions to ensure proper operation. Check time accuracy‚ chime synchronization‚ and pendulum swing. Adjust the timekeeping by gently turning the minute hand clockwise. Ensure chime hammers align correctly and strike the bells evenly. Verify weight and pendulum stability. Refer to the manual for specific adjustments. Allow the clock to run for 24 hours to monitor consistency. Fine-tune as needed for accurate timekeeping and smooth operation. Proper testing ensures reliability and performance post-repair.
Maintenance and Upkeep
Regularly inspect and maintain your Howard Miller clock by following the guidelines in the provided manual. Ensure all parts are secure and functional for optimal performance and longevity.
7.1. Regular Cleaning and Inspection
Regular cleaning and inspection are crucial for maintaining your Howard Miller clock’s functionality. Use cotton gloves or soft cloths to wipe surfaces‚ avoiding harsh chemicals. Inspect the movement‚ chimes‚ and pendulum for dust or wear. Check all hardware for tightness and ensure proper alignment. Refer to the manual for detailed cleaning instructions and safety precautions. Regular maintenance ensures your clock remains accurate and prolongs its lifespan. Always handle parts with care to prevent damage.
7.2. Lubrication and Oil Replacement
Proper lubrication is essential for maintaining the smooth operation of your Howard Miller clock. Use high-quality clock oil as specified in the manual‚ applying it to pivot points and gears. Avoid over-lubrication‚ as it can attract dust and degrade performance. Replace old oil periodically to prevent viscosity changes. Always handle parts with care‚ using cotton gloves to prevent contamination. Follow the manual’s guidelines to ensure optimal functionality and longevity of your timepiece. Regular lubrication maintains accuracy and prevents mechanical wear.
7.3. Adjusting the Time and Chimes
Ensure your Howard Miller clock is synchronized with the WWVB time signal for radio-controlled models. For manual adjustments‚ use the Time Setting Knob to rotate hands clockwise. Position the clock on a stable surface to maintain accuracy. Check chime alignment and ensure they strike correctly. Regularly verify time accuracy and chime synchronization. Refer to the manual for specific instructions tailored to your clock model. Proper adjustments ensure consistent performance and enjoyable operation of your timepiece.
7.4. Proper Storage and Transportation
Store your Howard Miller clock in its original packaging to protect against damage. Remove pendulums and weights‚ securing all parts safely. Keep small components away from children. Clean the clock before storage to prevent dust buildup. Avoid extreme temperatures or humidity. Transport the clock upright‚ ensuring stability. For long-term storage‚ follow the manual’s guidance. Proper storage preserves your clock’s condition‚ ensuring it remains functional and visually appealing for years to come.
Advanced Repair Techniques
Master advanced methods for restoring and modernizing Howard Miller clocks‚ including refinishing‚ mechanism upgrades‚ and specialized repair tools‚ ensuring precision and adherence to original craftsmanship standards.
8.1. Restoring Antique and Vintage Howard Miller Clocks
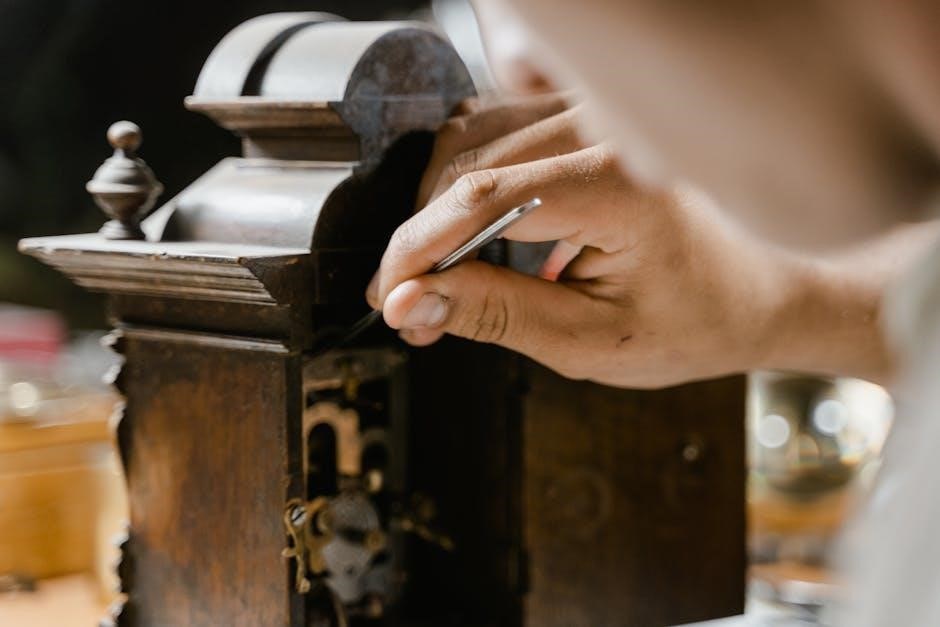
Restoring vintage Howard Miller clocks requires meticulous care to preserve their historical value. Start by disassembling the clock to access internal mechanisms‚ ensuring all parts are labeled for reassembly. Clean each component gently to remove grime without damaging finishes. For mechanical clocks‚ inspect and lubricate the movement‚ replacing worn gears if necessary. The exterior woodwork may need refinishing‚ using techniques that match the original patina; Reattach hardware and components‚ ensuring proper alignment and functionality. Finally‚ test the clock’s accuracy and chime operation to confirm successful restoration. This process not only revives functionality but also honors the craftsmanship of these timeless pieces.
8.2. Refinishing and Polishing the Clock Cabinet
Refinishing and polishing the clock cabinet enhances its aesthetic appeal while preserving its integrity. Begin by assessing the existing finish and sanding lightly to remove imperfections. Apply a stain or paint that matches the original design‚ allowing it to dry thoroughly. Finish with a clear polyurethane coat for protection and shine. For intricate carvings‚ use fine-grit sandpaper and gentle polishing compounds. Always handle parts with cotton gloves or soft cloths to prevent scratches and fingerprints‚ ensuring a professional-grade restoration.
8.3. Upgrading or Modernizing Clock Mechanisms
Upgrading Howard Miller clock mechanisms involves integrating modern technologies for enhanced performance; Consider replacing mechanical movements with quartz or radio-controlled systems for improved accuracy and reduced maintenance. Synchronize with time signals like WWVB for automatic time-setting. Handle small parts with care‚ using cotton gloves or soft cloths to prevent damage. Refer to official manuals for specific model compatibility and instructions. Modernizing ensures your clock remains functional and visually appealing while retaining its classic charm. Always follow safety guidelines and packaging recommendations for optimal results.
Warranty and Service Options
Howard Miller offers a limited 2-year warranty on floor clocks‚ covering defects from the original purchase date. Service options include authorized centers and customer support for parts and repairs.
9.1. Understanding Howard Miller’s Warranty Policy
Howard Miller provides a limited 2-year warranty for floor clocks‚ effective from the purchase date. This warranty covers manufacturing defects in materials and workmanship. It ensures repairs or replacements free of charge. However‚ it excludes damage caused by improper use or unauthorized repairs. To claim warranty benefits‚ users must retain the original receipt and contact authorized service centers. This policy underscores Howard Miller’s commitment to quality and customer satisfaction.
9.2. Finding Authorized Service Centers
To locate authorized service centers for Howard Miller clocks‚ visit the official website or refer to the product manual. These centers provide genuine parts and expert repairs‚ ensuring warranty validity. Contact customer support for a list of nearby authorized service providers. Make sure to have your clock’s model number and serial number ready for efficient assistance. This ensures your clock receives professional care‚ maintaining its quality and functionality over time.
9.3. Contacting Customer Support
For assistance with your Howard Miller clock‚ contact customer support via phone‚ email‚ or online forms. Visit the official website for contact details and support options. Have your clock’s model number and serial number ready for efficient service. The support team can help with repair inquiries‚ warranty claims‚ and troubleshooting. Ensure to use genuine parts and authorized services to maintain your clock’s quality and functionality. Reaching out directly is the best way to address specific concerns promptly and effectively;
Resources and References
Explore official Howard Miller repair manuals‚ online forums‚ and trusted suppliers for parts and tools. These resources ensure accurate repairs and maintain your clock’s functionality over time.
10.1. Official Howard Miller Repair Manuals and Guides
Official Howard Miller repair manuals and guides are essential resources for accurate and effective clock restoration. These comprehensive documents‚ available as downloadable PDFs‚ cover everything from initial setup to advanced maintenance and troubleshooting. They provide detailed diagrams‚ model-specific instructions‚ and step-by-step repair procedures. Whether you’re a novice or an experienced clock enthusiast‚ these manuals ensure you have the precise information needed to maintain or restore your Howard Miller timepiece to its original glory.
10.2. Online Communities and Forums for Clock Enthusiasts
Online communities and forums dedicated to clock repair offer invaluable resources for enthusiasts. Platforms like Reddit‚ specialized forums‚ and Facebook groups provide spaces to discuss repairs‚ share tips‚ and connect with experts. These communities are perfect for troubleshooting‚ learning from others‚ and showcasing projects. They also serve as hubs for finding rare parts and staying updated on the latest techniques in clock maintenance.
10.3. Recommended Tools and Suppliers
Essential tools for Howard Miller clock repair include precision screwdrivers‚ horological tools‚ and specialized lubricants. Reputable suppliers provide high-quality materials‚ ensuring durability and accuracy. Always use cotton gloves or soft cloths when handling clock parts to prevent damage. Regularly updating your toolkit and sourcing from trusted providers will enhance your repair experience and maintain the clock’s integrity.
Mastering Howard Miller clock repair requires patience‚ the right tools‚ and adherence to official manuals. Regular maintenance and proper handling ensure longevity. Happy restoring!
11.1. Final Tips for Successful Repair and Maintenance
Always wear cotton gloves when handling clock parts to prevent oil residue. Follow official Howard Miller manuals for precise guidance. After repairs‚ test the clock thoroughly to ensure accuracy. Regularly inspect and clean the movement to prevent dust buildup. Lubricate as recommended to maintain smooth operation. For complex issues‚ consult authorized service centers. Schedule annual check-ups to extend the clock’s lifespan. Keep all original packaging for safe transportation. Happy restoring!
11.2. Encouragement for Further Learning and Exploration
Explore the world of clock repair by diving into official Howard Miller manuals and guides. Join online forums to connect with clock enthusiasts and learn from their experiences. Experiment with restoration techniques to refine your skills. Consider upgrading mechanisms for modern functionality while preserving timeless charm. Embrace the satisfaction of maintaining a family heirloom and the joy of precise timekeeping. Happy repairing and exploring!
Leave a Reply
You must be logged in to post a comment.