
nikon em instruction manual
Nikon EM: A Comprehensive Guide
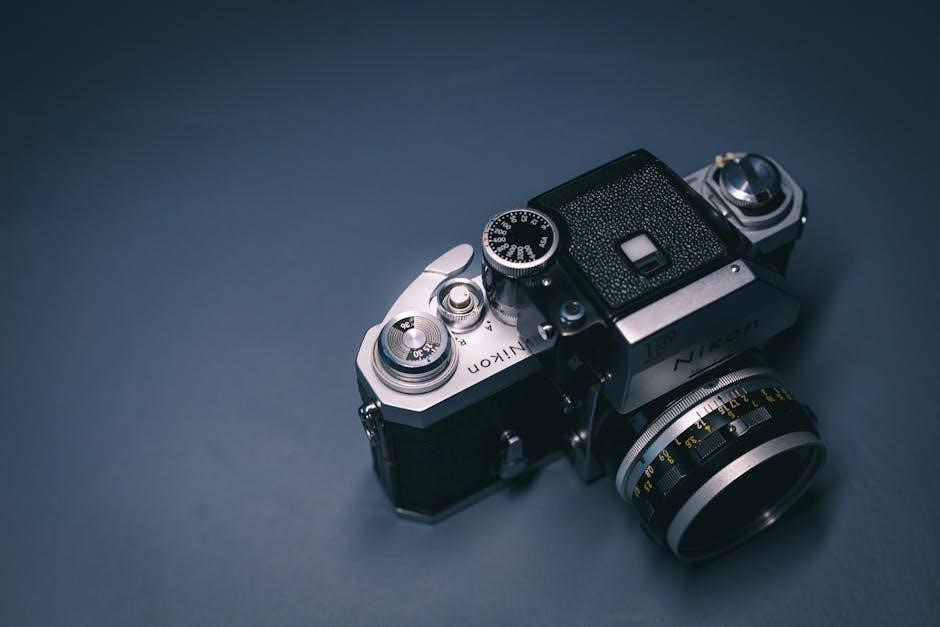
The Nikon EM is a 35mm SLR camera. Many users seek the Nikon EM instruction manual for reference. Online resources provide PDF versions of the manual. These manuals cover camera features‚ operation‚ and troubleshooting tips for optimal use.
The Nikon EM‚ a beginner-friendly 35mm SLR‚ is a gateway to film photography. Its user-friendly design and automatic features made it popular. Many online resources provide Nikon EM manuals for download. These guides cover various aspects of the camera‚ from basic operation to troubleshooting. The EM is compatible with various lenses‚ including Nikon Series E and AI-type Nikkor lenses‚ expanding its versatility. Understanding the EM’s features and proper handling ensures optimal performance. Manuals provide detailed explanations of the camera’s aperture priority mode‚ exposure compensation‚ and metering system. These resources empower users to capture stunning images with this classic camera.

Understanding the Nikon EM’s Key Features
The Nikon EM boasts aperture priority‚ exposure compensation‚ and a reliable metering system. These features help users control image outcome. Manuals offer detailed explanations. These features let you take better photos!
Aperture Priority Mode
Aperture Priority mode on the Nikon EM allows photographers to manually control the lens aperture while the camera automatically selects the appropriate shutter speed for correct exposure. This mode is useful for controlling depth of field. A wider aperture (smaller f-number) creates a shallow depth of field‚ blurring the background and isolating the subject. Conversely‚ a smaller aperture (larger f-number) increases depth of field‚ keeping both foreground and background sharp.
To use Aperture Priority‚ set the camera to “A” mode. Then‚ adjust the aperture ring on the lens to your desired f-number. The camera’s metering system will then choose a shutter speed.
Exposure Compensation
The Nikon EM features exposure compensation‚ which allows users to override the camera’s automatic exposure settings. This is useful when shooting in situations where the camera’s meter might be fooled‚ such as scenes with strong backlighting or high contrast.
To adjust exposure compensation‚ locate the dial near the lens mount. This dial typically has markings indicating “+” and “-” values. Rotating the dial towards the “+” increases exposure‚ making the image brighter. Rotating towards the “-” decreases exposure‚ darkening the image. The amount of adjustment is usually in stops. It helps achieve the desired brightness level in challenging lighting conditions.
Metering System
The Nikon EM employs a center-weighted metering system. This system primarily measures the light in the center of the frame‚ influencing the camera’s exposure settings. While it considers the entire scene‚ the central area receives greater emphasis.
Understanding this metering behavior is crucial for achieving accurate exposures. When shooting subjects with significant contrast compared to the background‚ like a brightly lit subject against a dark backdrop‚ the center-weighted meter might underexpose or overexpose the subject.
To overcome this‚ utilize exposure compensation techniques and take careful note of lighting in order to achieve the best results.
Loading and Shooting with the Nikon EM
Proper film loading is crucial. Setting the ASA/ISO correctly ensures proper exposure. The actual process of taking a picture involves a few steps. Refer to your manual for detailed instructions;
Film Loading Procedure
To load film into your Nikon EM‚ begin by pulling out the film rewind knob to open the camera back. Insert the film cartridge into the film chamber. Next‚ thread the film leader to the take-up spool‚ ensuring it catches securely. Advance the film using the film advance lever‚ and check that the film sprockets are properly engaged with the film perforations. Close the camera back and continue advancing the film until the frame counter reaches ‘1’. This ensures any exposed film is moved past‚ and you’re ready to capture your first shot. Refer to the manual for diagrams.
Setting the ASA/ISO
Setting the correct ASA/ISO on your Nikon EM is crucial for proper exposure. Locate the ASA/ISO dial‚ typically found on the camera’s top. Consult your film packaging to determine the appropriate ISO number. Rotate the dial to align the correct ISO value with the indicator mark. This tells the camera’s metering system the film’s sensitivity to light‚ ensuring accurate exposure in aperture-priority mode. Remember‚ incorrect ISO settings can result in overexposed or underexposed images. Always double-check the setting before shooting‚ especially when switching between different film types with varying ISO values.
Taking a Picture
Once the film is loaded and the ASA/ISO is set‚ you’re ready to take a picture with your Nikon EM. First‚ compose your shot through the viewfinder. Gently press the shutter button halfway down to activate the light meter. The camera will select an appropriate shutter speed based on the aperture you’ve chosen. If the light is insufficient‚ the camera will display a warning. Fully depress the shutter button to capture the image. After taking the picture‚ advance the film using the film advance lever. Be mindful of camera shake‚ especially in low light.
Nikon EM Lens Compatibility
The Nikon EM is compatible with various lenses‚ including Nikon Series E and AI-type Nikkor lenses. Ensure proper mounting and compatibility before use. Consult the instruction manual for a comprehensive list of compatible lenses.
Nikon Series E Lenses
Nikon Series E lenses were specifically designed as a more affordable option for cameras like the Nikon EM. These lenses offer good optical quality while being lighter and more compact than their higher-end Nikkor counterparts. They are fully compatible with the Nikon EM’s aperture-priority automatic exposure mode.
When using Series E lenses‚ ensure they are mounted correctly by aligning the lens’s mounting index with the camera body’s and twisting until it clicks. These lenses provide a versatile range of focal lengths suitable for various photographic situations. Check the instruction manual for detailed compatibility and usage guidelines. Remember to clean and store lenses properly.
AI-Type Nikkor Lenses
AI-Type Nikkor lenses are compatible with the Nikon EM‚ though with some limitations. These lenses feature an aperture indexing ridge that couples with the camera’s metering system. When using AI-Type lenses‚ the EM functions in aperture-priority mode.
To ensure proper metering‚ the lens’s aperture ring must be set to its minimum aperture (the highest f-number) when mounting. The camera then controls the aperture automatically. It is important to consult the Nikon EM instruction manual for specific guidance on using AI-Type lenses. Understanding these nuances is crucial for achieving correct exposure and optimal image quality.

Troubleshooting Common Issues
The Nikon EM‚ while a reliable camera‚ can encounter common issues. One frequent problem is incorrect exposure‚ often due to improper metering or incorrect ISO settings. Consulting the Nikon EM instruction manual can help resolve these issues. Another issue is film loading problems‚ leading to blank or partially exposed frames.
Battery-related problems can cause the camera to malfunction or display incorrect readings. Lens compatibility issues might arise if the lens isn’t properly mounted or is incompatible with the camera. By understanding these issues and consulting the manual‚ users can effectively troubleshoot and maintain their Nikon EM.

Caring for Your Nikon EM
Proper care ensures the longevity of your Nikon EM. Keep the camera clean using a soft cloth to wipe the body and lens. Avoid harsh chemicals. Store the camera in a dry‚ cool place when not in use. Regularly check the battery chamber for corrosion.
The Nikon EM instruction manual offers detailed cleaning and storage recommendations. Protect the lens from scratches by using a lens cap. If the camera gets wet‚ dry it thoroughly. Periodically inspect the light seals. Handle the camera gently to prevent damage.
Leave a Reply
You must be logged in to post a comment.